We like to work as efficiently as possible when building a Garden Room. This includes being conscientious about materials and wastage.
This is evident from the start with our floor construction. A lot of garden rooms will be constructed on a solid concrete base. This method involves a lot of digging out of the existing ground only to fill it again with concrete. This often involves removing the material from site or disposing it off in a skip. Once removed, the concrete needs to be poured and the slab needs to be leveled. You also need to account for the time it takes for the slab to set and be suitably ready to build on.
The PMG Method
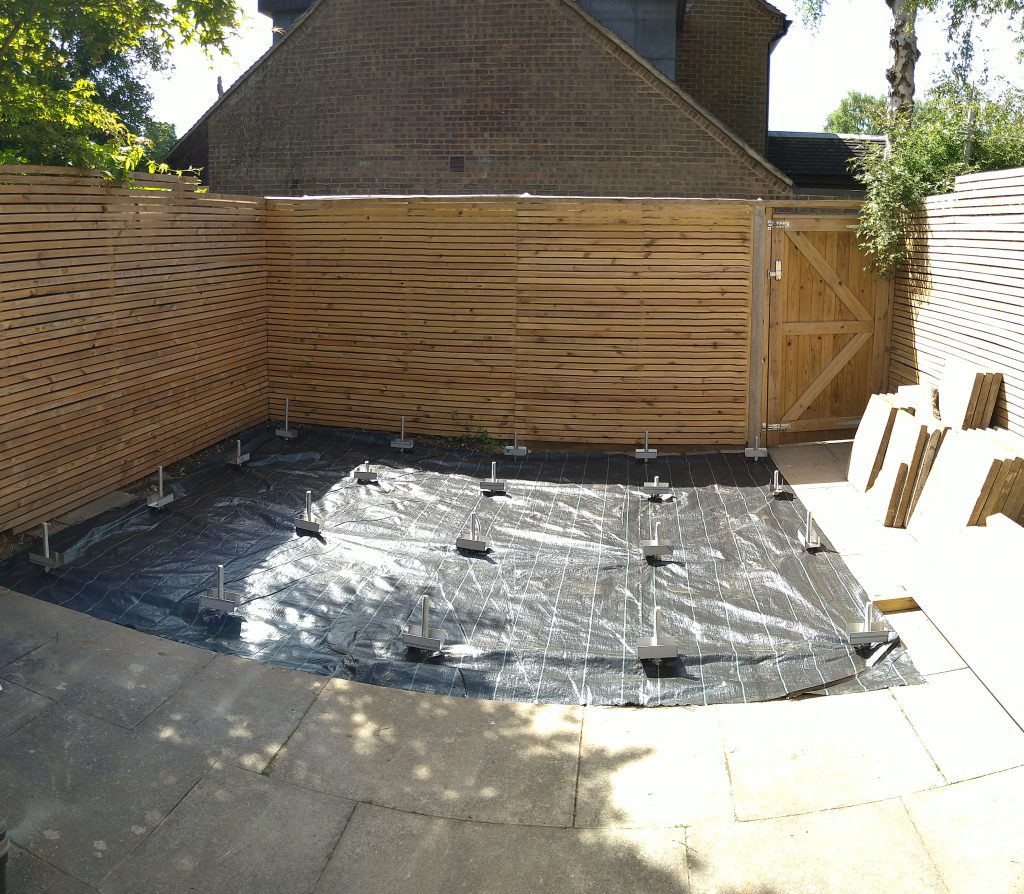
At PMG Garden Rooms we have a more efficient option. First, we dig tubular holes to accommodate a 25 mm thick steel threaded rod. We then position each rod in the individual holes and set them in quick drying concrete. On the lower end of the rod there is a 10 mm thick steel plate located which is secured either side by a locking nut. This plate ensures that the rod will not sink or slip through the concrete as it is embedded in the centre of the concrete. The rods are set in a line and spaced evenly to take the spread load of the Garden Room.
On the upper part of the first rod we secure 2 locking nuts to use as a datum point that will determine the floor level. We can then use this datum to level through the locking nuts on the remaining rods. It’s a very good system as it avoids having to dig out and then dispose of that material as well as enabling the ability to start construction immediately.
We then lay a heavy duty weed stop sheet down over the area and drop the purpose made shoes onto the locking nuts. A 75 mm x 100 mm treated timber base frame is prepared and dropped over the threaded rods fitting snugly into the shoes. We then fix a final nut to secure the base down and any excess rod is cut off. This system also enables adequate airflow under the building as well as alleviating any threat for rising moisture.
The PMG Build
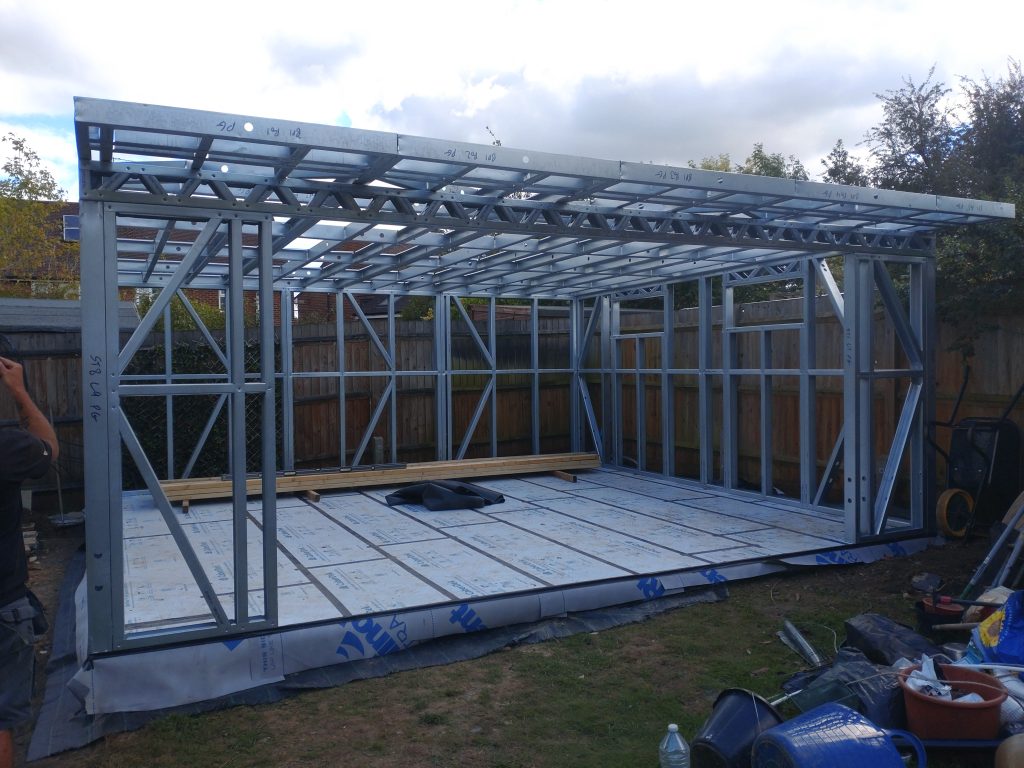
We then fill the base with a 90 mm rigid insulation board. The insulation sits on treated tile battens, fixed to the underside of the base frame. The battens eliminate the possibility of the insulation falling through the frame. We then apply a vapour barrier to prevent any exposure to dampness. Over the vapour barrier we fit moisture resistant flooring. We then have a solid and suitable floor from which to build on.
The walls of the building are constructed using 45 mm x 95 mm treated timber. The timber frame is then filled with RW45 rock wool fire resistant insulation throughout. Externally, OSB (Oriented Strand Board) is fitted then a vapour barrier is applied followed by tile batten. The client’s choice of cladding is then applied. The tile batten is fitted so that the cladding can be fixed and also to enable an air gap to allow the building to breathe. We incorporate the client’s choice of doors and windows.
The roof is constructed with 150 mm or 125 mm x 45 mm treated joists, depending on the span of the roof. We then lay an 18 mm OSB and screw it down. Before any insulation is fitted to the walls and roof the cabling for the required electrics is installed. On top of that we apply an EPDM rubber membrane sheet which is stuck down with waterproof adhesive. The EPDM has a 25 year warranty. EPDM is similar to the rubber compound of a vehicle tyre making it durable and impermeable to varied weather conditions. We then fold the EPDM over the edge and secured it with UPVC curb and edge trims. We then fit UPVC fascia and soffit boards to give a neatly finished roof line. We leave the EPDM a bit longer on the back edge so that it enables rainwater to flow off the roof and into the gutter. We dig a soakaway to carry the rainwater away or alternatively we can install a water butt to solve this issue. This also serves as an efficient way to water the garden plants.
Before any insulation is fitted to the walls and roof the cabling for the required electrics is fitted. Internally a plastic moisture barrier is applied before fixing the plasterboard to the wall and ceiling. The walls and ceiling are then plastered and painted. After painting the electric work can be completed. Any amount and combination of electrical lights and sockets are available. All electrics are installed by a qualified and certified electrician. We discuss your flooring options. Typically laminate flooring is used as it is a very hardy and practical option for a Garden Room. Lastly we fit and paint the skirting board to complete.